Another blog for all those deckhands who love a bit of maintenance. Here are some painting skills for you to try out next time the chief officer lets you loose on the new big hole someone’s just made in the side of the tender. The usual response is to blame it on engine or steering failure even though you know you were coming in too hot from the start. I’m sure the lads on deck will bring it up for the rest of time. I know I did ha-ha.
So you’ve prepped the big gaping hole, you’ve filled it with marine filler, you’ve sanded it and applied more filler cause you went mad with the 80grit. Now it’s ready to be cleaned, taped up and other areas protected with plastic or similar, you’ve applied a primer and allowed to dry. Now you’re onto painting the top coat. You’ve got two options… Roll & tip or spray. Both an art in themselves but done right can come out lovely with a great finish. Depending on the size of the project and whether you are able to spray (for example in the yard) roll and tip is always a good option which I’ll cover below:
1. Check your ratios
Mix the paint following the correct mixing ratios – for example, Awlgrip guides can be found online and on google quite easily. They are usually 3 parts (paint, converter & reducer). If you mix wrong the paint will not go off and you’ll have to start again. If you reduce too much or too little this will affect the end result also so make sure you have mixed your ratios correctly. Wear a respirator along with gloves when mixing as the converter makes you high as a kite and will most likely result in fewer brain cells and a banging headache.
2. Arm yourself with a good brush
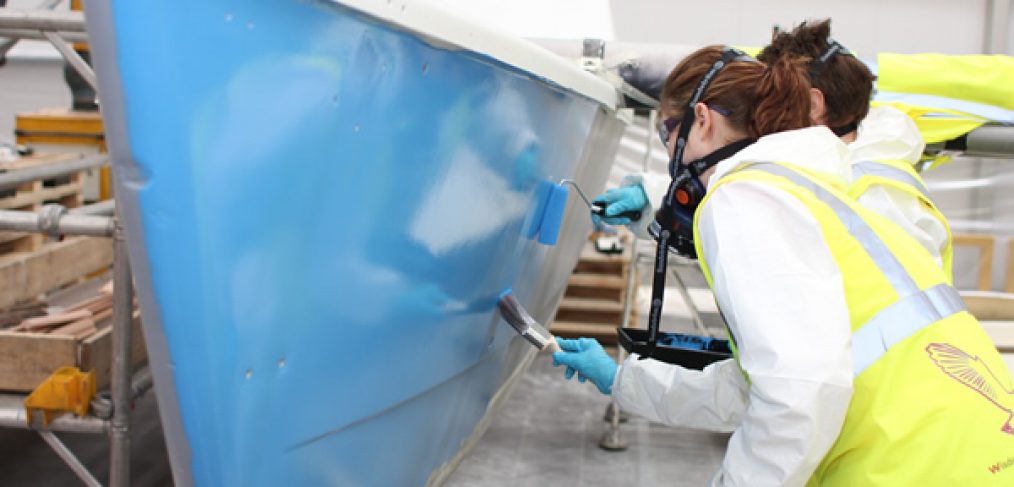
Gather your roller, brush and paint tray. Depending on the budget most boats use foil to line the paint tray as it makes them last longer. For a decent job, you’ll need a fairly good brush, not your usual 99p throw away one as it often leaves brush stroke marks in the paint. A foam roller for applying usually achieves best results I find.
3. You’re going to need a roller too
Apply paint using roller – use the roller tray to get an even coverage on your roller. If there is paint running from the roller it is going to go everywhere. Use the end of the tray where there is no paint to remove excess paint from the roller. Apply to the area and avoid over rolling the paint as it will take the paint back off. Try to get a good even coverage that is thick enough to cover and not see the primer coming through.
4. Do a light sweep for a flat finish
Use your brush to remove excess paint and create a flat finish – you’re aiming to be as light as possible with the minimum amount of brush strokes. The more you go over it the more brush marks that will be seen. One light sweep with the brush should do the trick giving you a flattish finish with minimal brush marks.
5. Leave it alone to dry
Leave to dry – as the paint sets you tend to find a flatter finish appears. Avoid trying to brush over it again as it is drying, it very rarely works and then your back to square one. What should have been a half hour job has now taken you a day and you’re “mincing” according to the rest of the lads.
6. Here’s what to do if you’ve really messed it up
If needed you can polish out blemishes or tape lines – cutting compound and some elbow grease followed by a polish usually does the trick. However, if you’ve bodged it right up and there are huge tape lines you might need to use a high grit wet and dry paper. Start with 4000 grit and work your way down but don’t go mad. I usually wet the paper. Once edges have vanished use your compounds and polishes along with a buffer to get back the shine you have taken off.
Obviously, there are different ways of doing things but I think that is a solid summary of how to go about painting. If in doubt speak to senior crew or jump on Youtube! Good luck with it.
Image credit: yachtpaint.com


